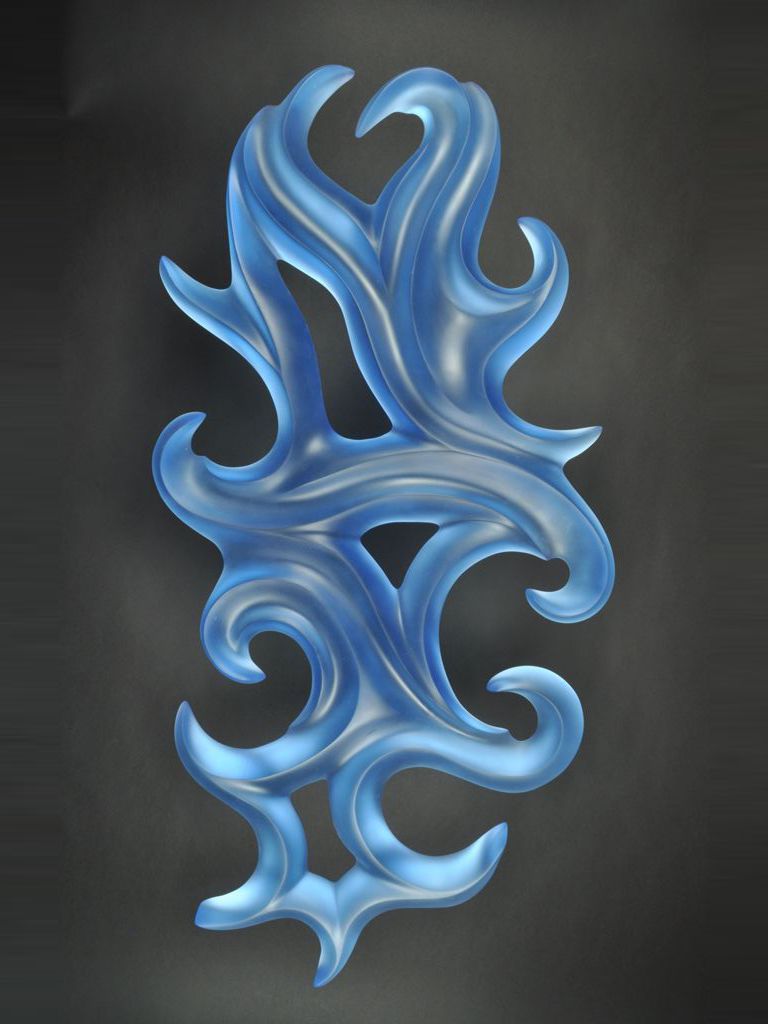
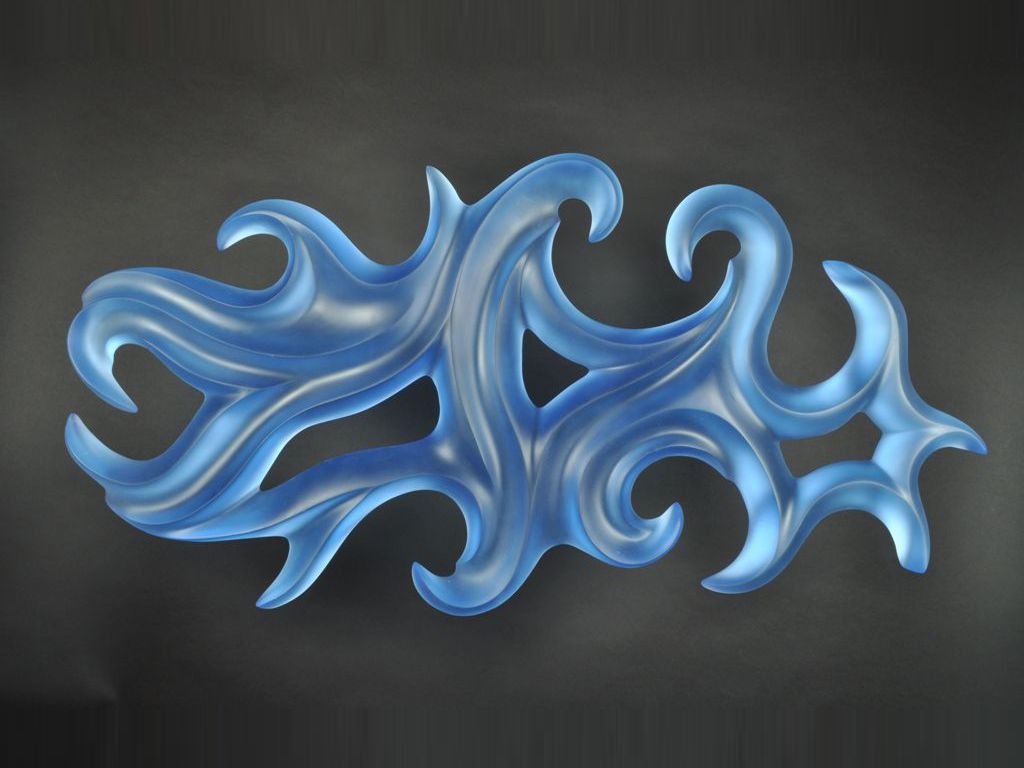
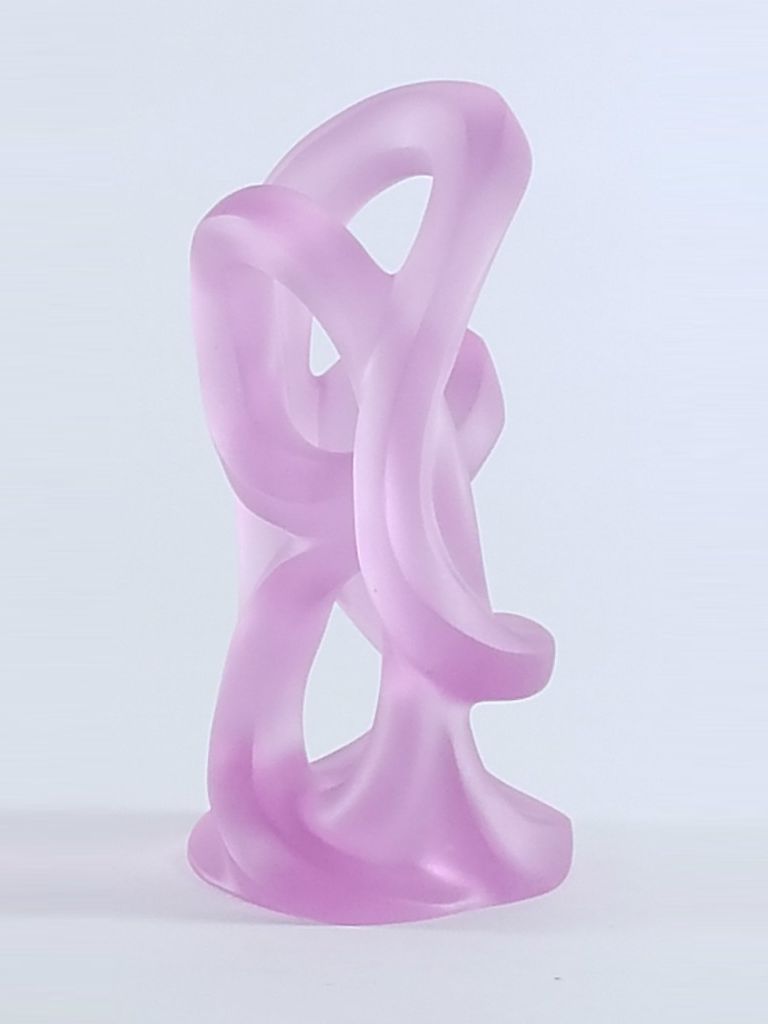
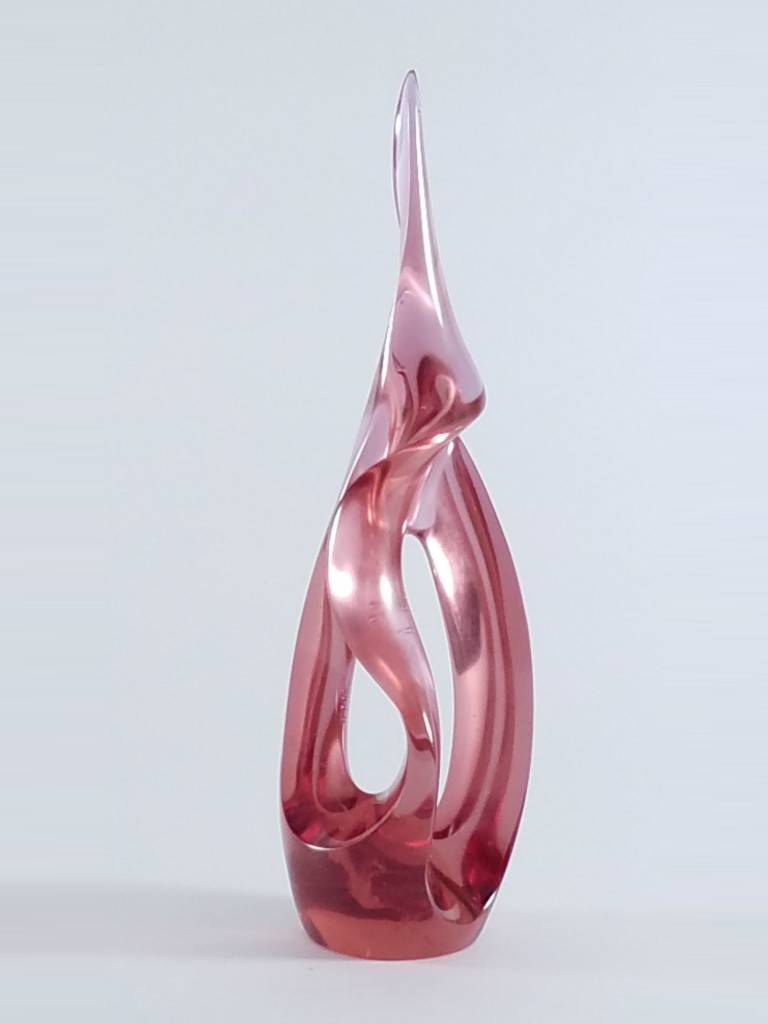
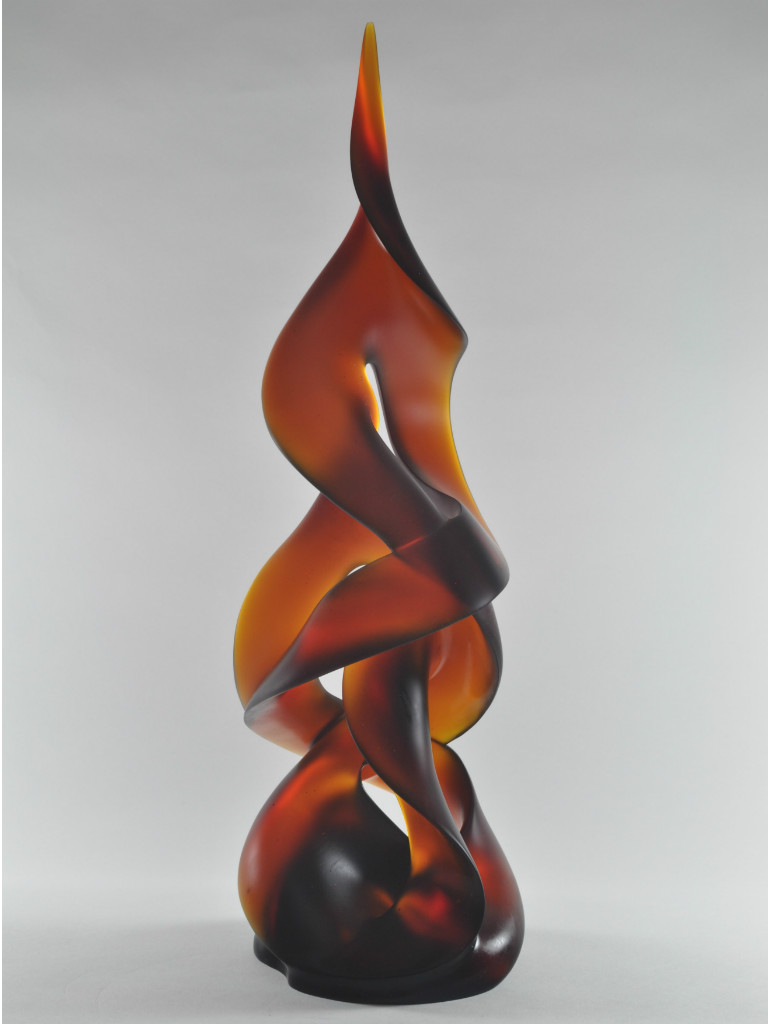
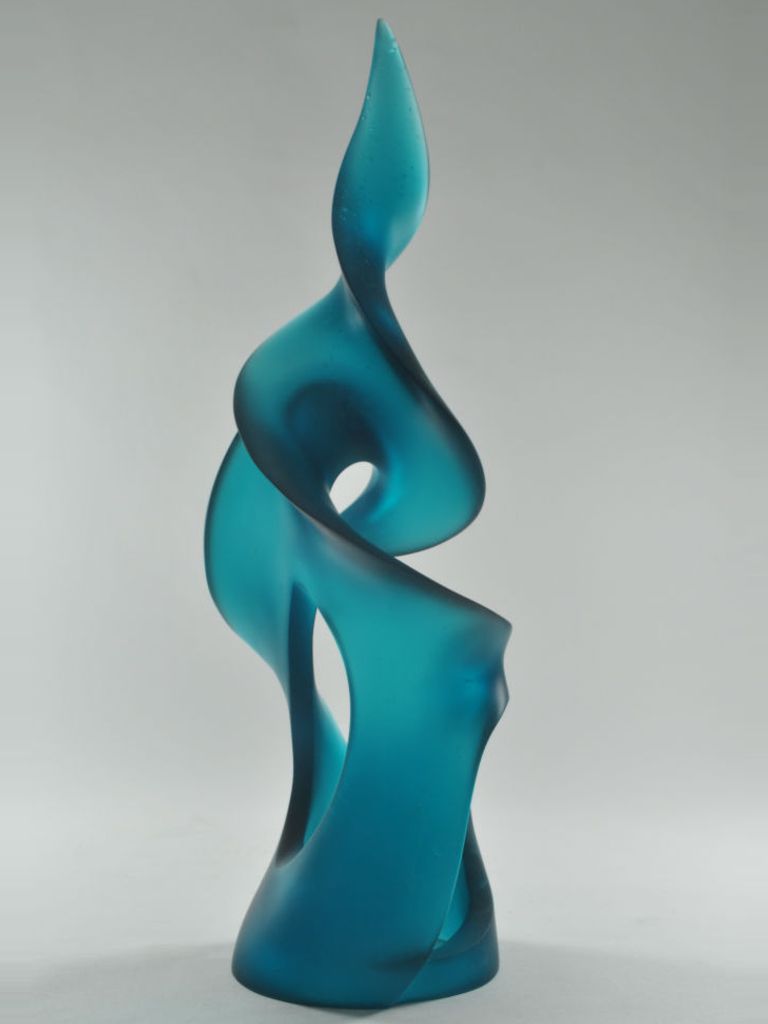
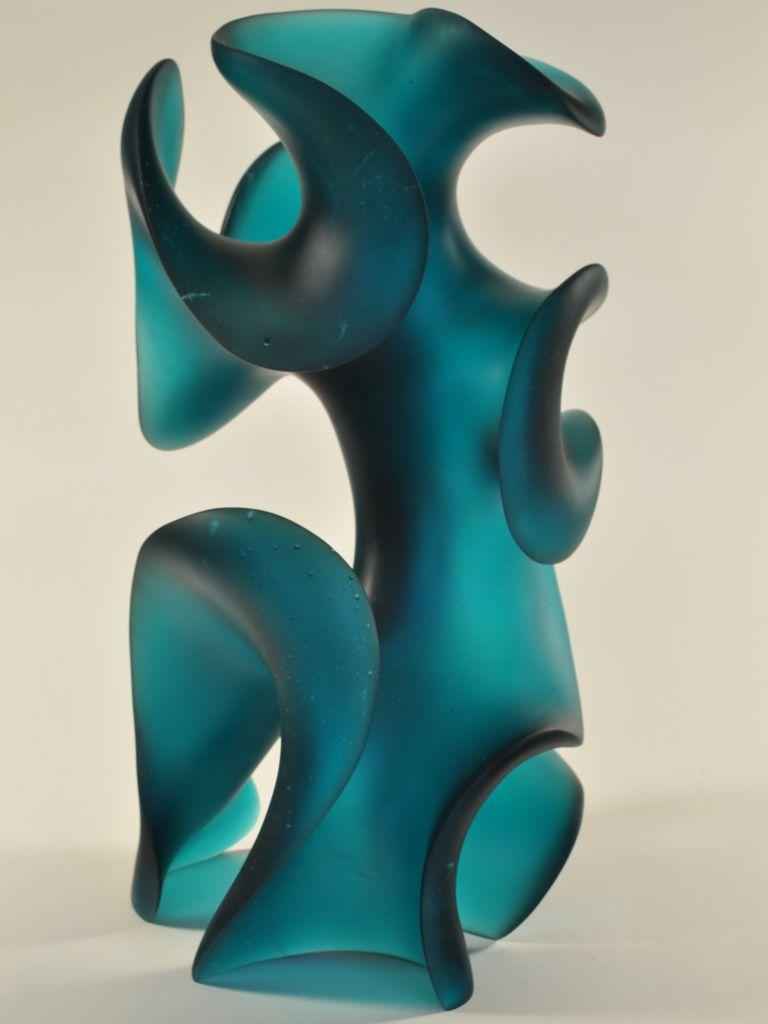
CORIOLIS
PALE COBOLT
1′ 3″ h, 2′ 6″ w, 1-1/4″ d
Coriolis…cast glass wall sculpture
In the emerging stages, my first cast glass wall sculpture was a whole new process for me.
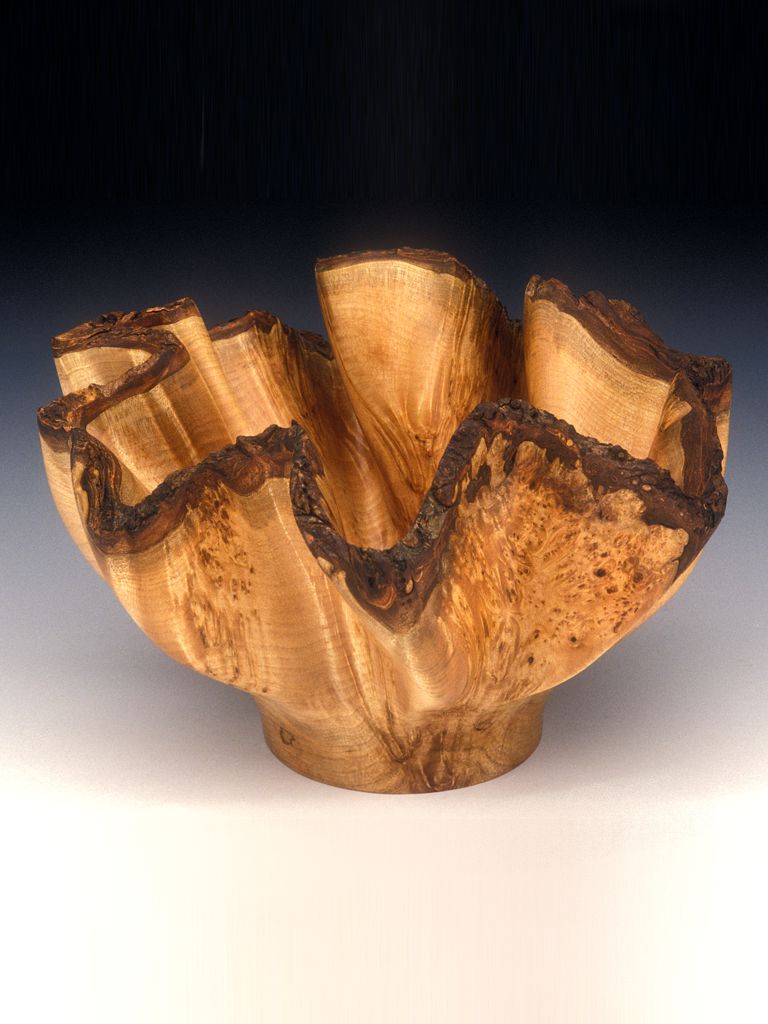
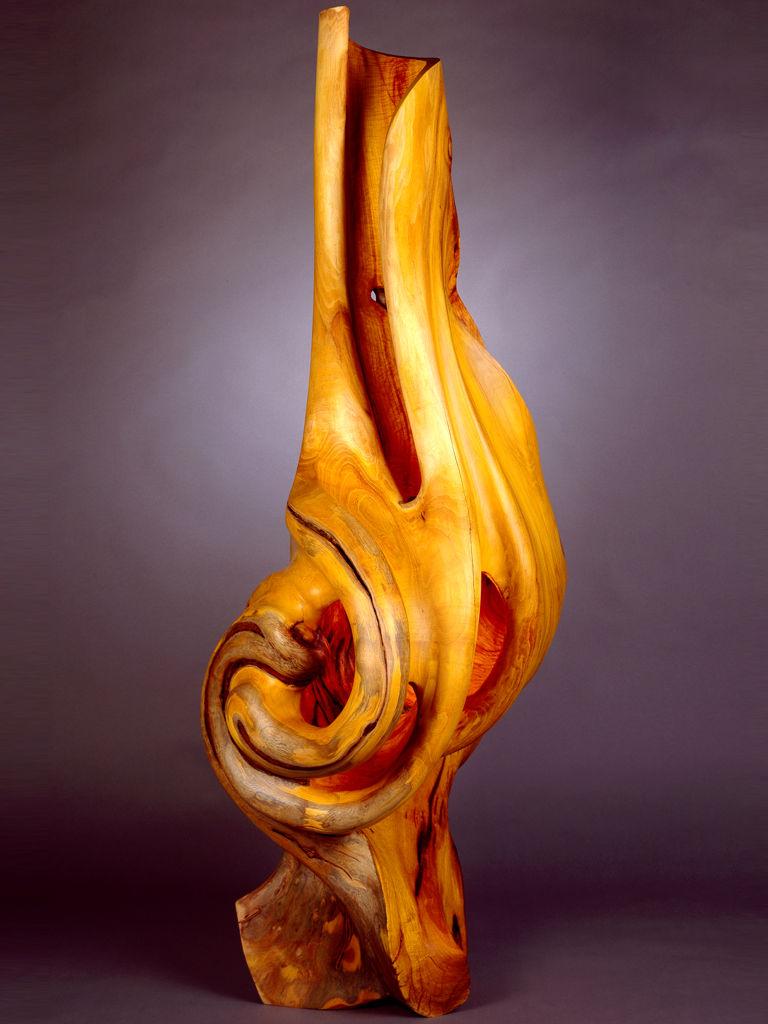
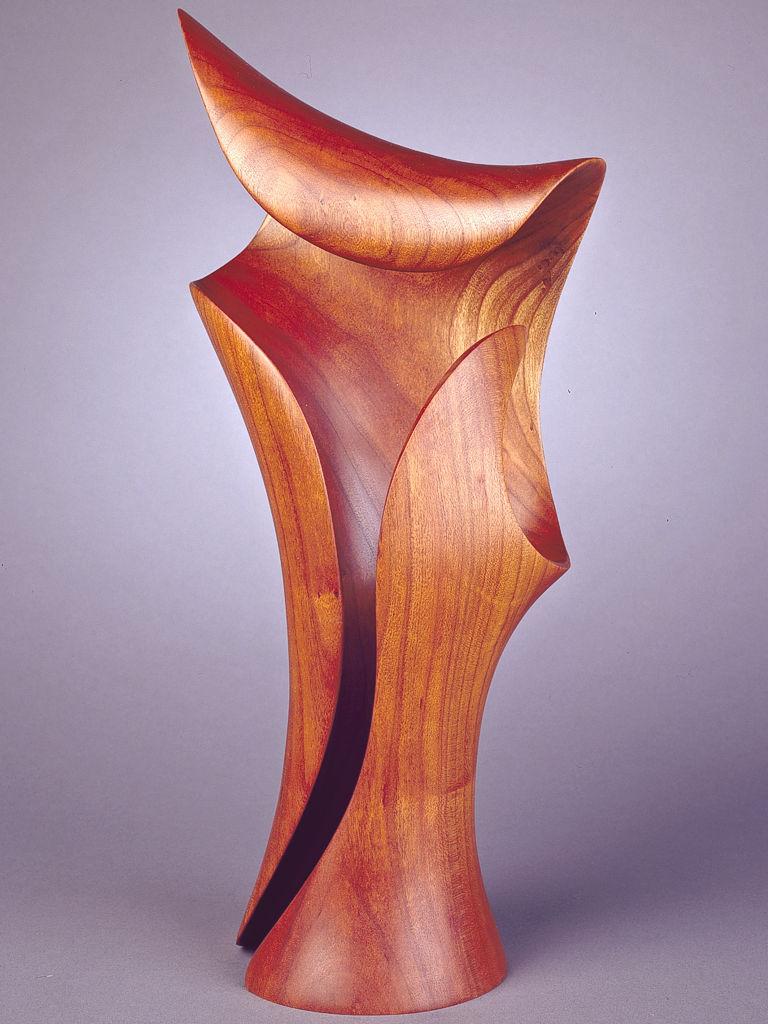
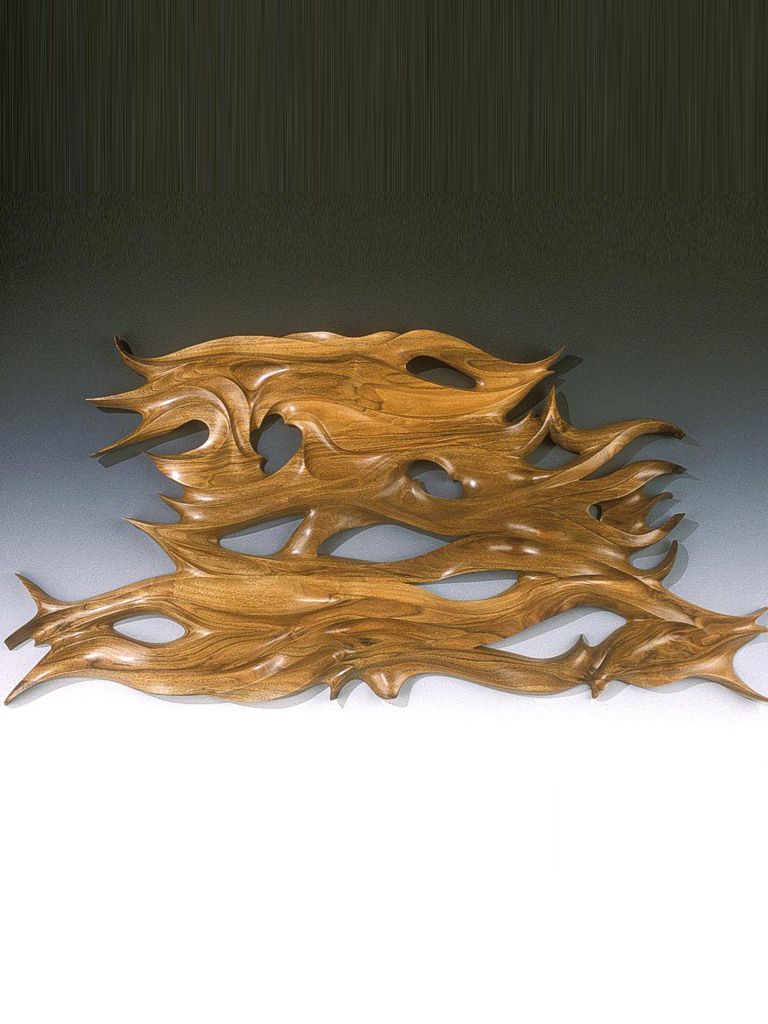
In wood, a wall sculpture was a familiar and enjoyable form. Yet, at first, it felt “weird” in wax (which, as you know, is my sculpting medium for glass).
I found I was doubling back on my learning curve. I had gotten accustomed to pure design in my previous 28 three-dimensional glass sculptures…and I had not missed the “missing” wood grain. But, with this piece, I had to become acclimated all over again, because there seemed now to be no point of beginning.
Creating this piece
Creating CORIOLIS…poured-flat wax slab, sculpted & prepared for the foundry
I think approaching the poured wax as a flat slab versus a cylindrical form had something to do with my feeling of unfamiliarity. But, whatever the reason, this was the first time I had missed “partnering” with the wood grain in creating a piece.
Plus, I felt I needed to start with a more completed design sketch. That was a real challenge since, as you may know, I don’t draw and have never been able to sketch my sculptures-in-the-round.
There were other unfamiliar aspects, too. I consider my wall art as bas relief – the ancient sculpture technique which renders the design elements more prominent (higher) than the (overall flat) background. As such, it was a learning experience to determine ideal thicknesses. How much do I need in order for the piece to hold together? How deep can I sculpt? Etc. (Turns out it could have been thinner — handy to know for the next one!)
Missing in action
I also seemed to miss my wood working tools very much. With them it was much easier to remove the “waste material.” I also missed the ability to use wood rasps for smoothing surfaces – especially in the area of the deep-V cuts.
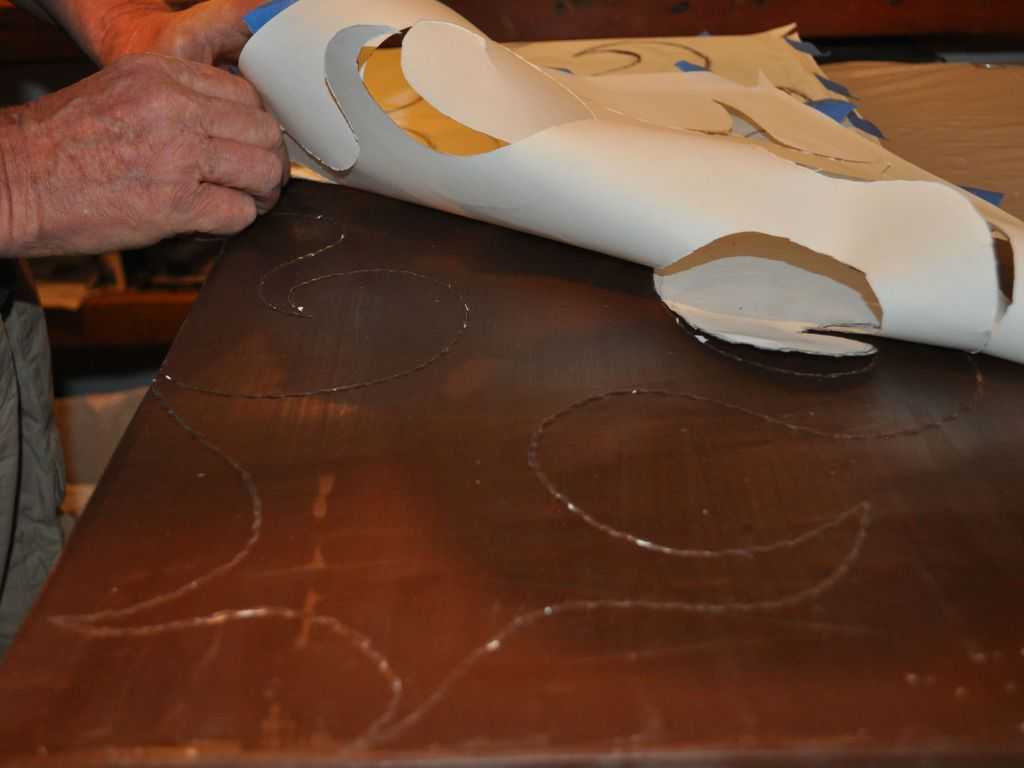
Pulling off the paper design “pattern.” 
Tracing my design sketch onto the wax form. 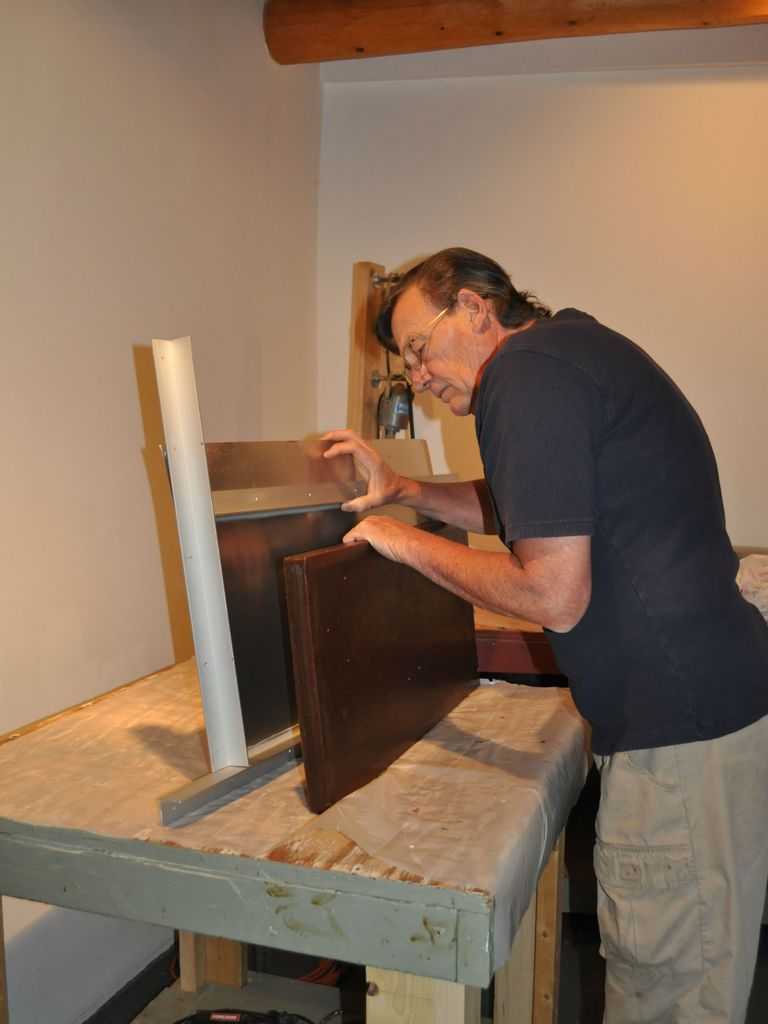
Carefully removing the cooled, flat wax slab that I had poured into a metal pan. 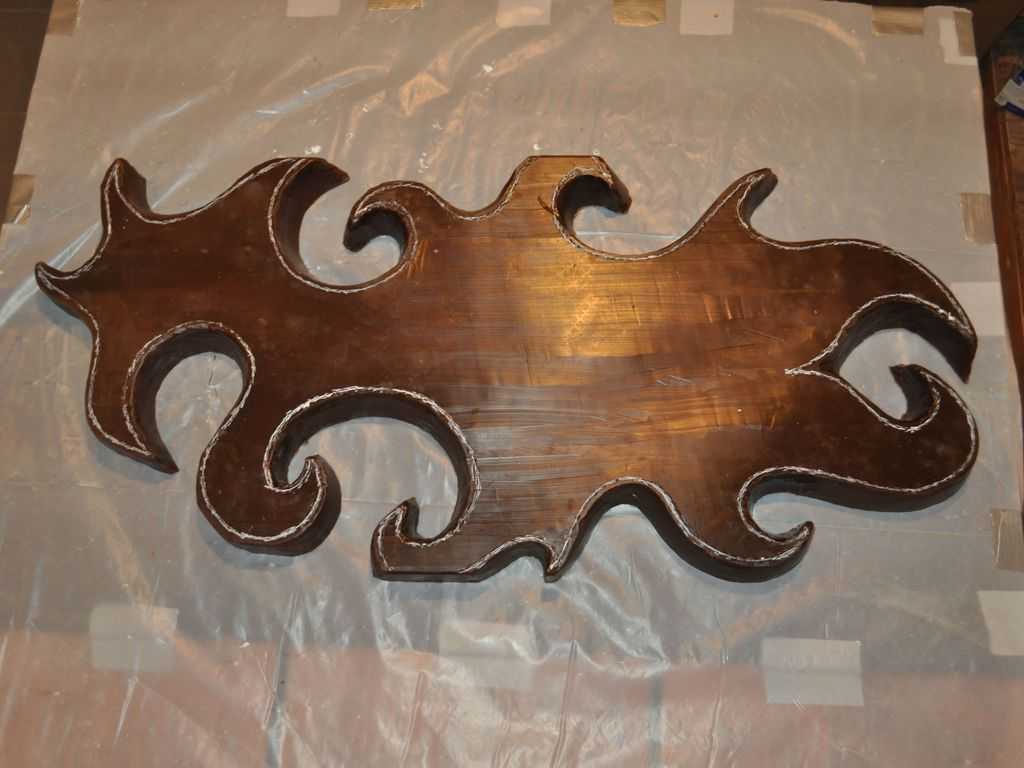
Outline now needs “waxing on” to round out flat edges. 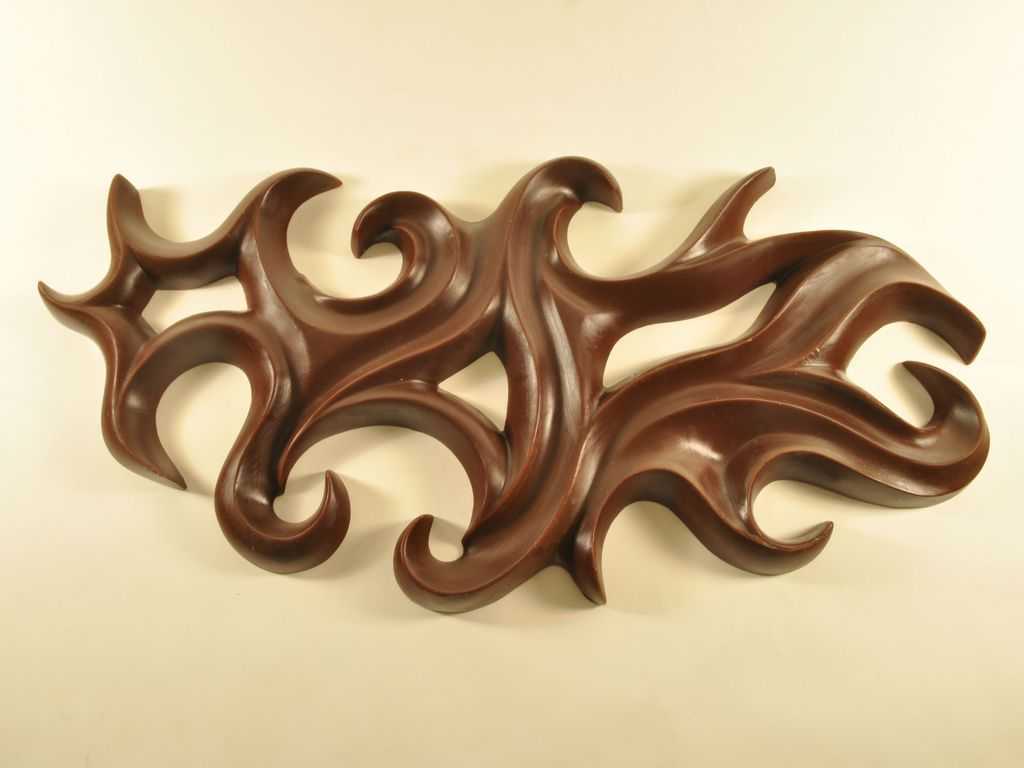
Finished wax. Ready for color selection & the foundry. 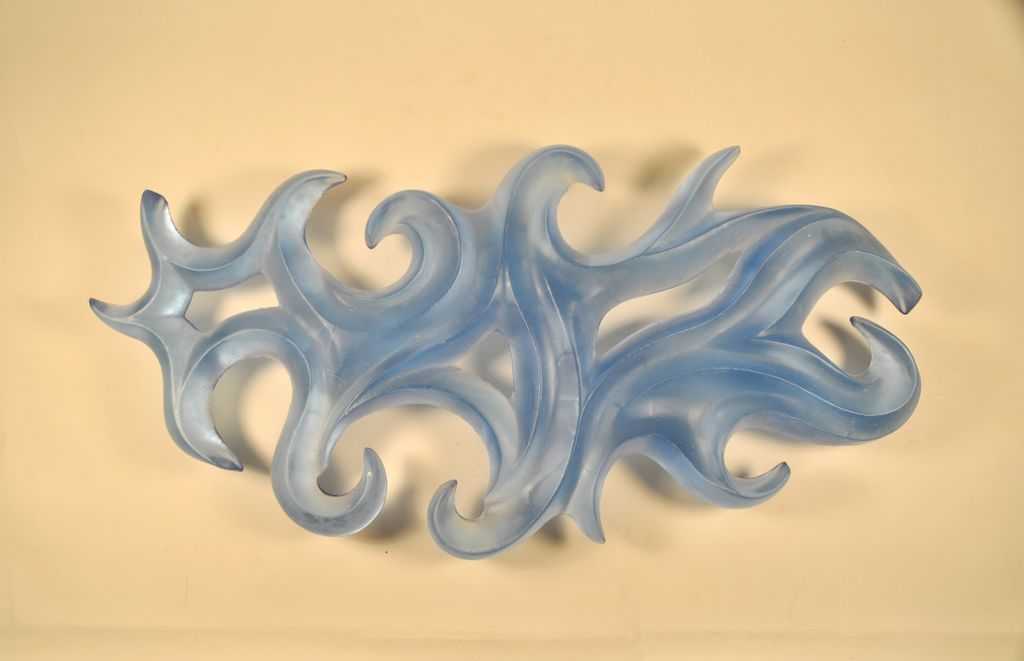
Back from foundry, very clean, but still much cold-working needed.
On the other hand, once again I utilized and celebrated the “add back” capability — “waxing on” when I needed just a little bit more material to extend a flourish or S-curve. It reminds me of Gaye quoting her Italian grandmother when asked, “How much spice did you add, Mom-Mom?” To which Mom-Mom would reply, “Juest enuf.”
At first, I really thought this entire first-stage wax sculpting process for a wall hanging would require less time than my sculptures in-the-round. That turned out not to be the case – not at all.
Then, the foundry kiln casting process was so totally different that, for the first time, I got very involved in it as well because I wanted to learn about it. Learn with me, if you’d like; I’ve recorded the foundry process in detail and photos here.

